The Silent Killer' s TIps For
Printing Font Samples
Most computers come pre-installed with a bounty of printer fonts, and WinXP only added to them. You can also download hundreds more, or even make your own.
Knowing how they will all look when they print can be tough, but can also be an important aspect!
Luckily, there's an easy way to print samples of the fonts on your computer.
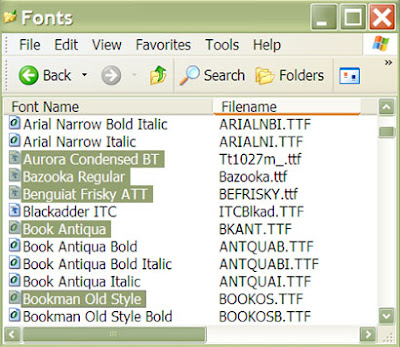
Go to Start Menu, Settings, Control Panel and double-click the "Fonts" folder.
Now hold down the CTRL key and select the fonts you want to see samples for by clicking them. (If you REALLY want to see them all, press CTRL+A to highlight everything.)
Next, go to File and choose "Print". This will bring up a print dialog box for each font selected. NOTE: You'll have to click Print (or OK in older versions of Windows) in the print dialog box for each font you selected, so if you have a lot of 'em, get comfy. If you just want a sample page of one font, then right click and choose Print. Your printer will go to work printing complete sample pages for each font.


No comments:
Post a Comment